Do you have a pond creation project? Contact us at explorecology@gmail.com
Why create a mini pond?

A micropond is a small ecosystem that attracts dozens of species, turning your garden into a haven of biodiversity. Ponds are shallow aquatic habitats (generally less than 2 meters deep), essential for many endangered species, including amphibians, dragonflies, and certain aquatic plants. In Europe, 50% of ponds have disappeared in the past 100 years. They host over 70% of threatened amphibian species and can support up to 200 different species within two years. They also play a crucial role in regulating the water cycle by temporarily storing rainwater and promoting its infiltration into the soil.
A single small pond can regulate runoff water and reduce surrounding soil erosion by 30%.
Step 1: Choose the ideal location
- Choose a partially shaded spot to prevent water from overheating and limit algae growth. Prefer an area close to a rainwater source.
Ponds located in semi-shaded environments generally have richer biodiversity. Sunlight promotes the growth of aquatic plants, while shaded areas prevent excessive temperatures that can harm aquatic fauna.
The optimal temperature for aquatic life in a pond is between 10°C and 25°C. Beyond this, species like newts can be negatively affected.

Step 2: Gather the necessary materials
- A preformed pond or EPDM liner.
- Stakes, shovel, trowel, spirit level, plank.
- Branches, deadwood, stones, and substrate (soil or sand).
Whenever possible, use local materials to minimize the introduction of invasive species. Natural substrates and elements like local branches and stones encourage rapid colonization by native fauna.
Natural substrates like sand and clay effectively filter pollutants, reducing water contamination risks by 40%.

Step 3: Prepare the ground and trace the shape of the pond
- Outline the shape of the pond on the ground using stakes and string. An irregular shape is preferable to promote biodiversity.
An irregular shape creates diverse microhabitats. Gentle slopes make it easier for terrestrial animals to access, while deeper areas provide refuge from predators and heat.
Gentle slopes of 30° provide easy access for amphibians and reduce drowning risks for terrestrial mammals.
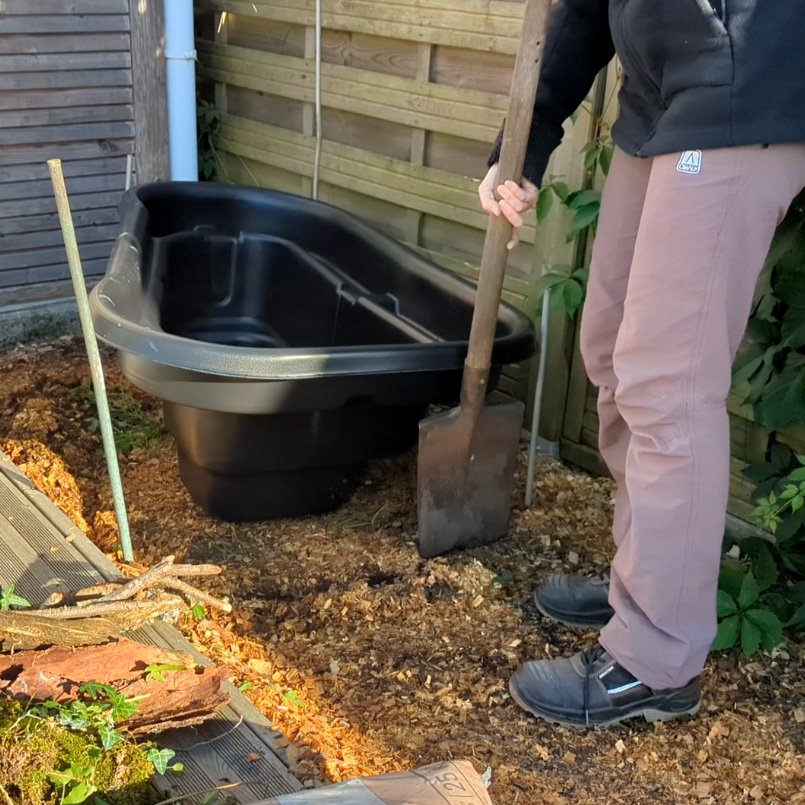
Step 4: Dig the hole
- Dig the deepest areas first (40 cm in the center) and add shelves for diverse habitats.
Shelves allow different species to coexist. Amphibians use shallow areas for spawning, while aquatic insects prefer deeper zones. A central area at least 80 cm deep can serve as a winter refuge for amphibians.
Deep areas (>80 cm) maintain stable temperatures, essential for the survival of amphibian larvae during winter.
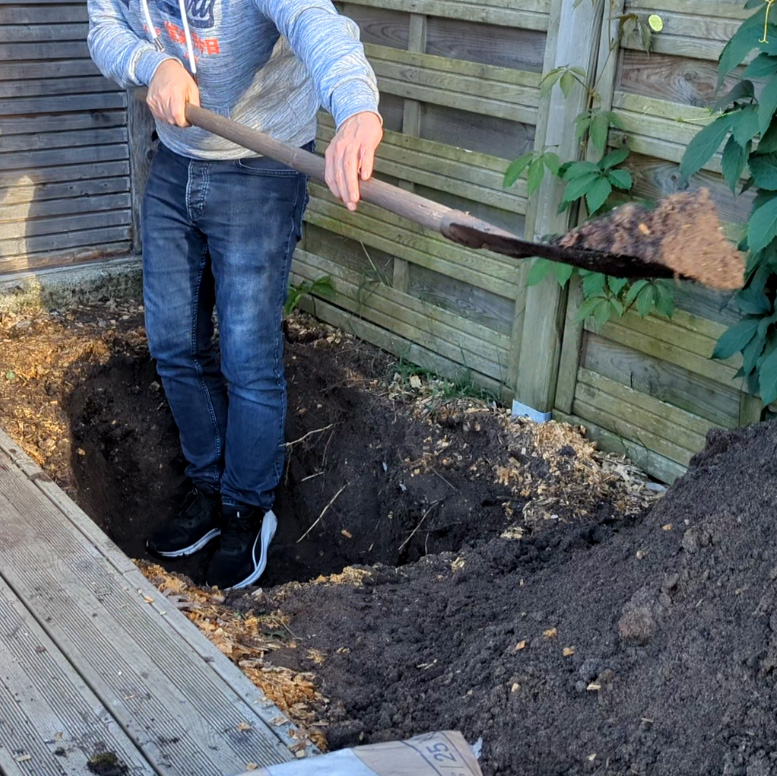
Step 5: Install the pool or liner
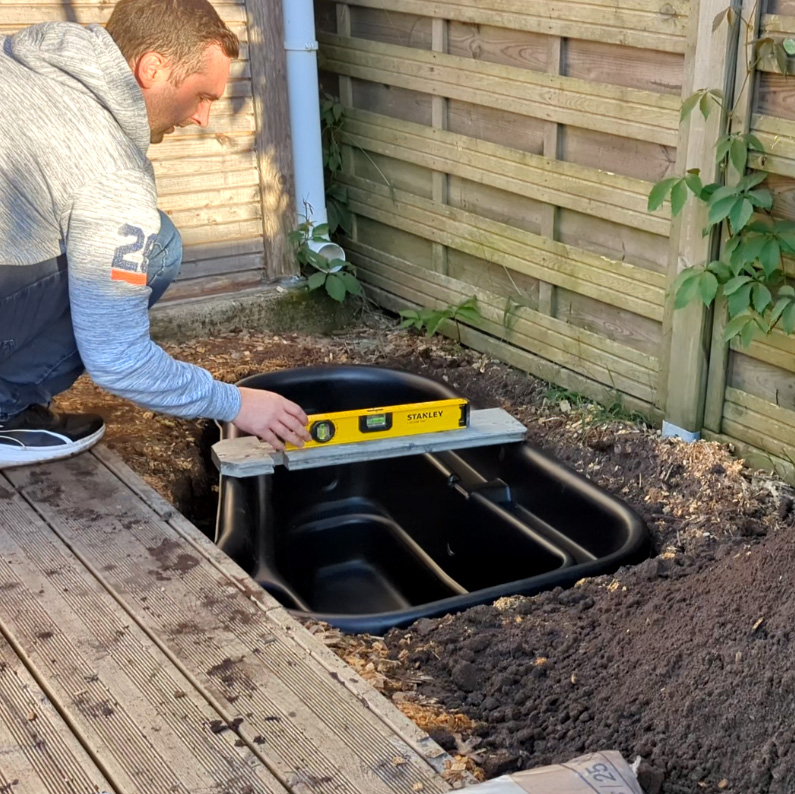
- Place the preformed pond or liner into the hole. Ensure it is level using a plank and a spirit level.
Proper installation reduces the risk of leaks and ensures the stability of the aquatic ecosystem. Properly sealed ponds retain up to 90% of their water volume during summer.
An EPDM liner has an average lifespan of 20 years, ensuring a durable solution for your pond.
Step 6: Add the substrate
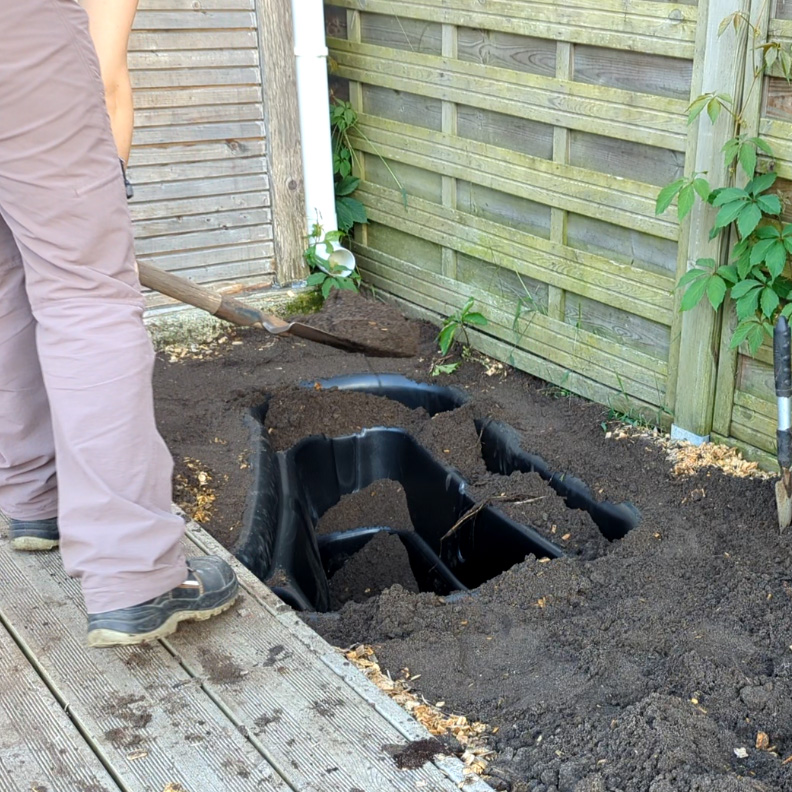
- Add a layer of substrate (10-15 cm) at the bottom for aquatic plants and natural water filtration.
Substrate plays a crucial role in nutrient filtration and ecosystem stabilization. Prefer substrates low in organic matter to limit algae growth. Sandy soils also promote the rooting of aquatic plants.
A suitable substrate can reduce excess nutrients in the water by 50%, thus limiting algae blooms.
Step 7: Arrange the surroundings of the pond
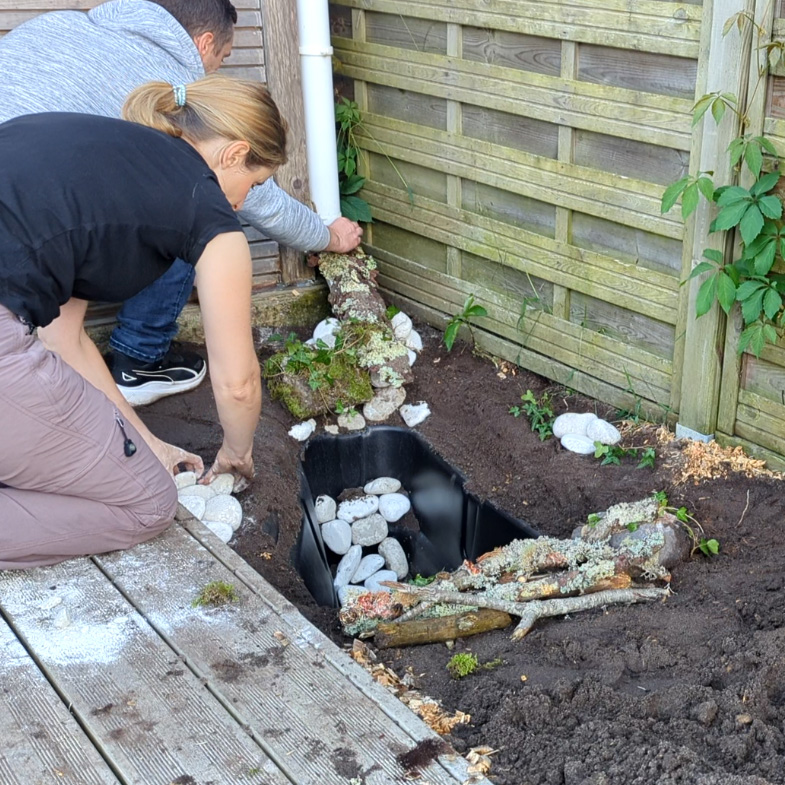
- Arrange branches, stones, and leaf piles around the pond to create shelters for local wildlife.
These elements provide essential shelters for amphibians and terrestrial insects. They also help reduce evaporation by maintaining local humidity. A vegetated area around the pond can increase biodiversity by 40% by attracting pollinators.
A 1-meter vegetated strip around the pond can increase species diversity by 60%.
Step 8: Fill the pond with rainwater
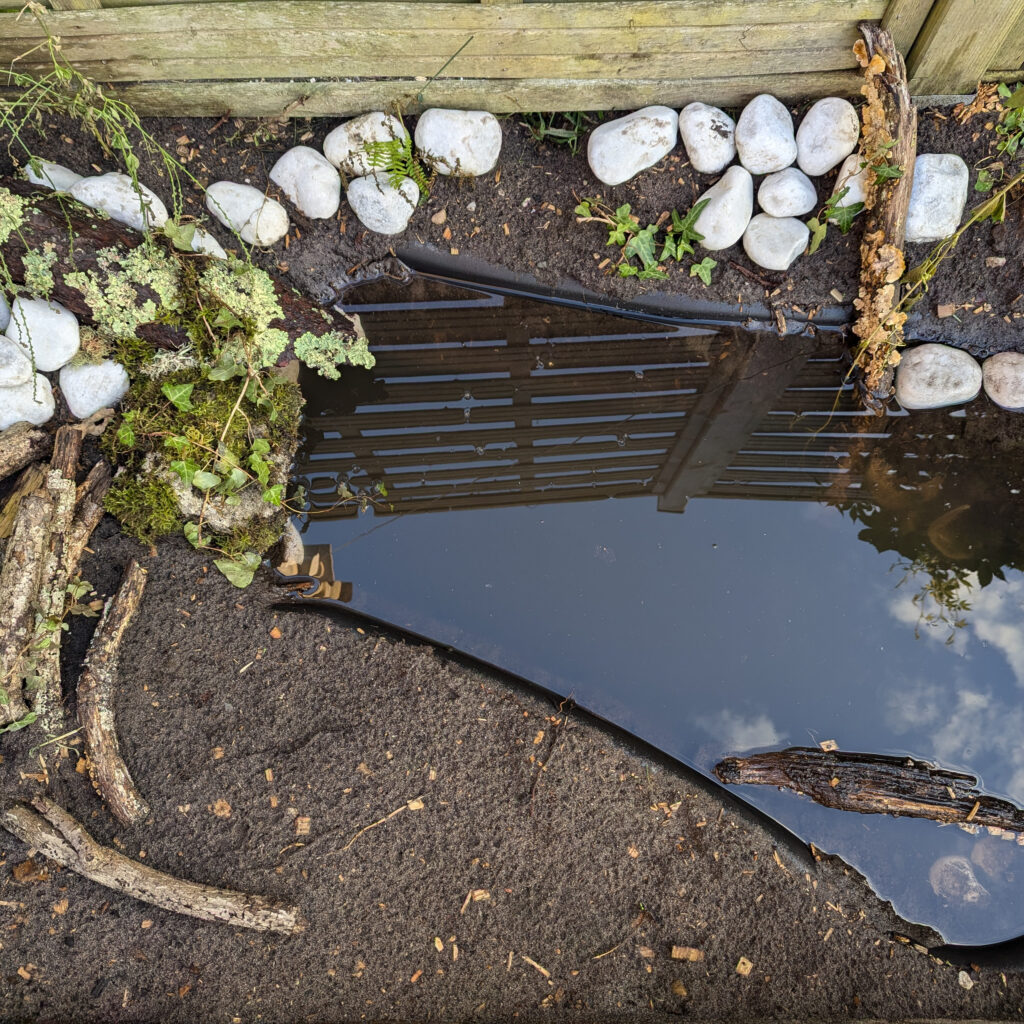
- Use rainwater to fill your micropond. This helps maintain a natural balance.
Using rainwater avoids introducing pollutants often found in tap water, such as chlorine. A pond well-fed with rainwater can offset up to 60% of the water needs of surrounding plants.
A rainwater collector can harvest up to 80% of annual rainfall from an average-sized roof.
Step 9: Observe natural colonization
- • Over the weeks, observe insects, amphibians, and plants settling in your pond. It’s a magical step!
Newly created ponds often attract pioneer species such as backswimmers (water insects) and frogs, which play a key role in ecosystem balance. Dragonflies can colonize a pond within the first month of its creation.
Over 80% of native European dragonflies rely on ponds as their primary habitat.
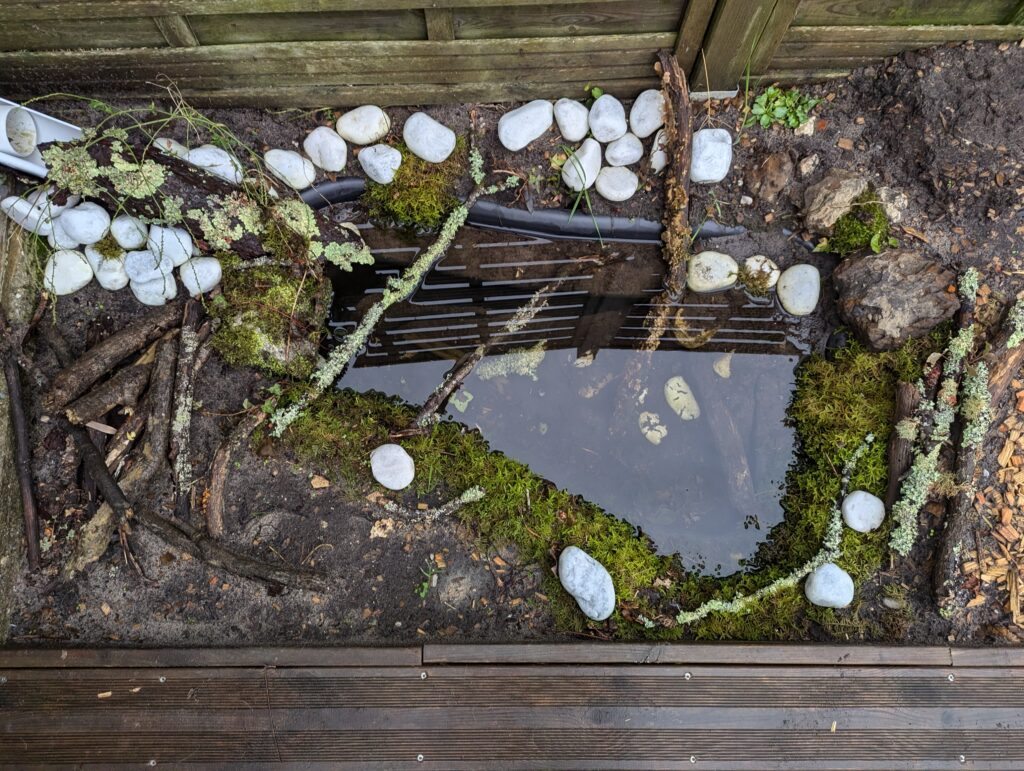
A new ecosystem created for biodiversity
Congratulations! You’ve created a vital space for biodiversity in your garden. Care for your micropond to ensure it continues to thrive and provide a haven for wildlife and plants.
